Thursday, March 3, 2011

Baby Cards


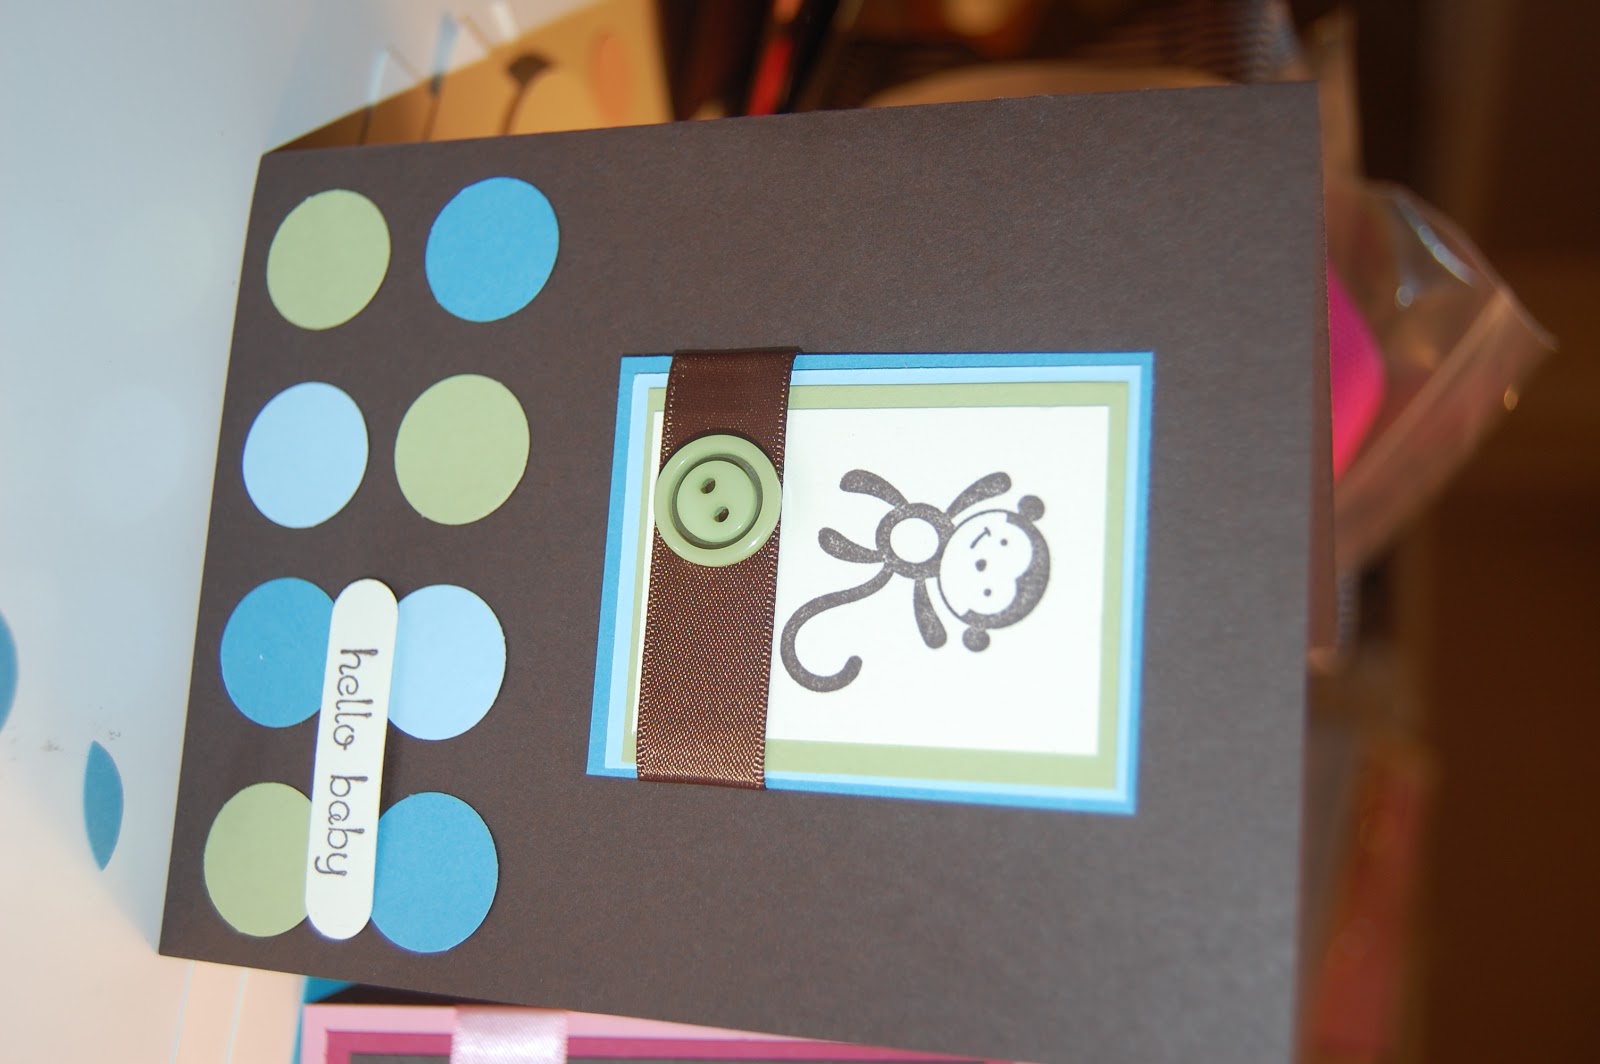
My girlfriend asked me to make her some baby cards. I was very happy to make them for her and I was very happy with the way they turned out! I used the stamp set Fox and Friends from SU to make the set. I have lots of plans (all in my head at this point!) to make other cards but for now, here's what I've got so far.


I was inspired to make this card by a blog I found off the SU website. She makes me feel inspired. She's a teacher, has 3 girls under the age of 7 and when you see her blog you'll be amazed. I wonder if she sleeps? Check it out! http://www.pinkbuckaroodesigns.blogspot.com/


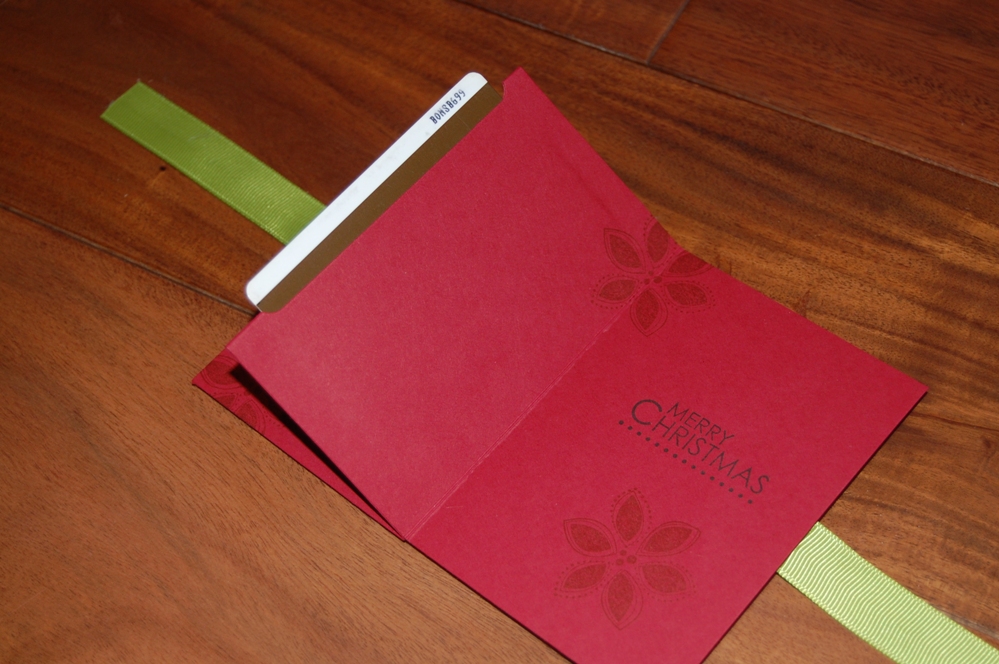
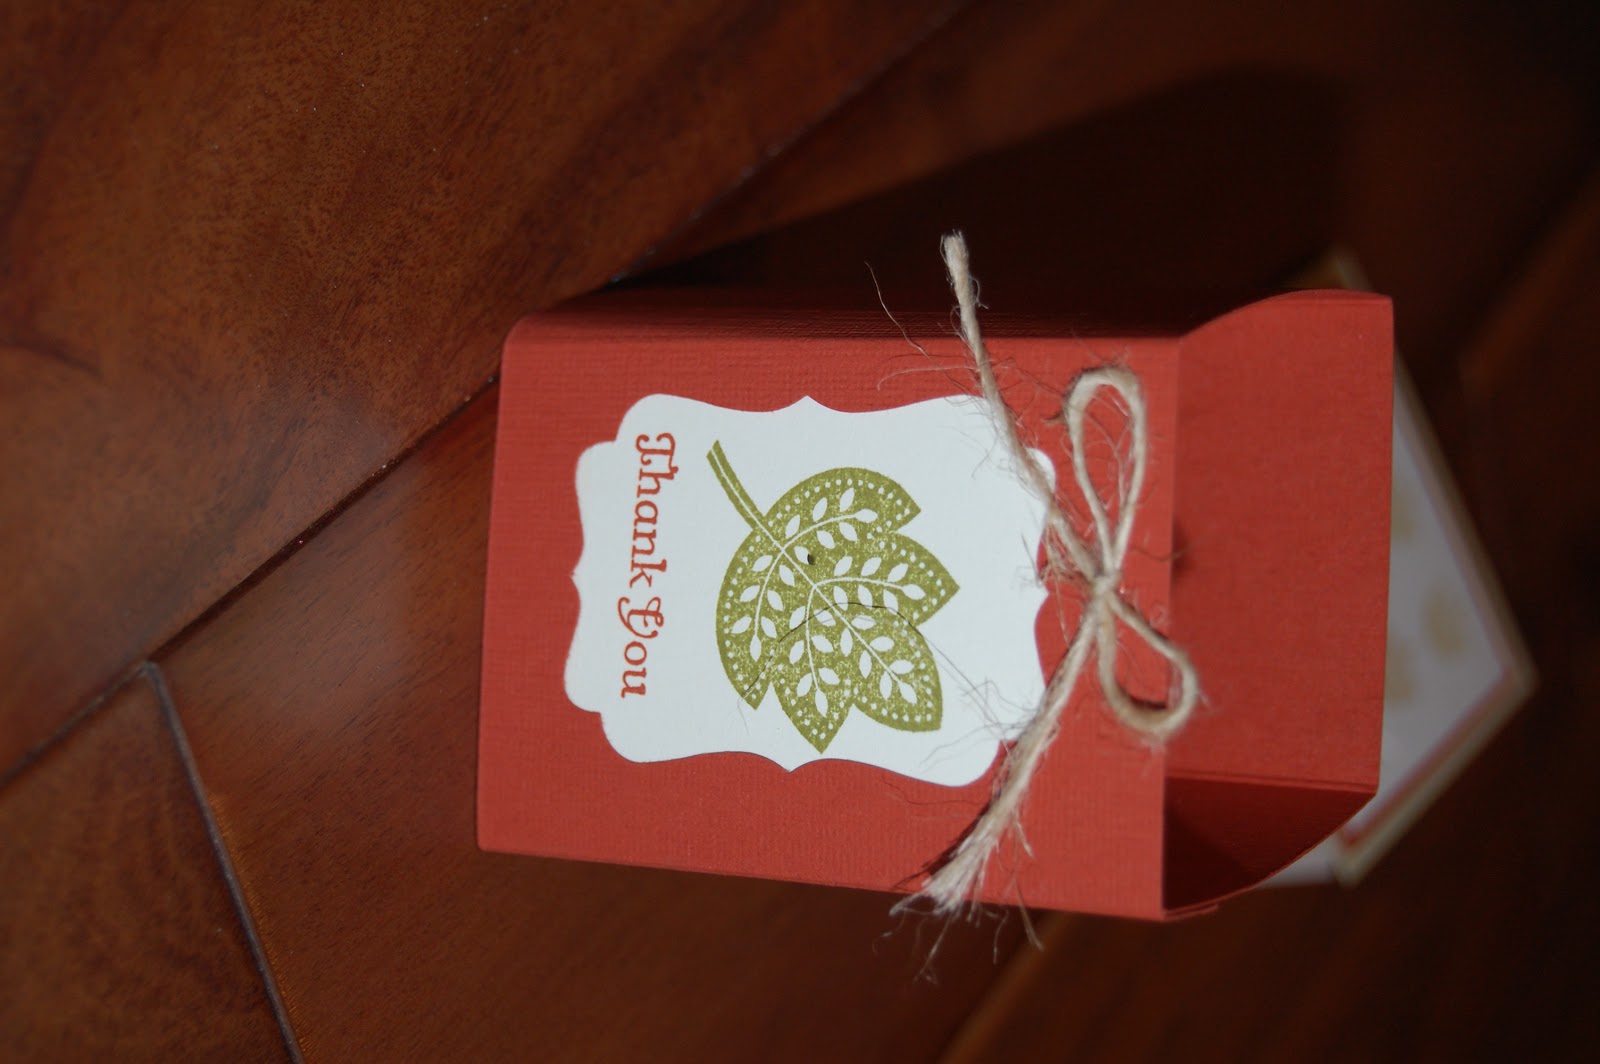
These two are my favorite! Simple, but fun! I'm sorry they are sideways....I can't get them to be upright for some reason!


Tuesday, November 30, 2010

An easy project!

I found inspiration in August from the SU Big Idea Catalog and I finally put it all together the past couple of nights! Super excited about how it turned out! Easy, inexpensive and CuTe!

Step 1: Gather your supplies. You'll need cookie cutters (I got mine at Michaels- an 18 pack for $9.99), holiday paper (I used the Jolly Holiday double sided paper from SU), ribbon and some tombow glue.

 Step 2: Trace the cookie cutters onto the holiday paper. Then, cut the cookie cutter patterns from the paper. You'll then need to punch 2 holes on top of the cookie cutters to attach the ribbon. If you haven't encounterd the Crop-A-Dile yet you need to. It's an amazing tool! It puts circle punches of different sizes in chipboard, tin and multiple paper layers as easy as can be! Love it! You can buy it from SU! Check it out... Finally, you'll need to put the tombow glue around the edges of the paper and then put the cookie cutters on top of the glue (this is where I got a tad bit frustrated....you'd think it would be easy to match everything up perfectly- not for me! And the glue got a bit sticky but it dried clearly and quickly!). I let my cookie cutters dry overnight.
 Step 3: Tie ribbons onto the tops of each cookie cutter and then put them on whatever type of decorative item you might have in your house. For me, I have a curtain rod that I typically hang up the girls art work on in our kitchen so this worked out perfectly for the project.

Merry Christmas!

Monday, November 29, 2010

Projects!

I've been very busy "crafting" as my husband likes to say :) Here is what I've been up to...

Tags anyone? I used the Tag set from the mini catalog to create all of these!


The topper for the tags is the Top Note die cut that you use with the Big Shot!


I made over 50 of these darlings :) I used the Holiday paper from the mini catalog, the Big Shot, fancy box die and the tag set. I added the handles and put the ornament (from Target) on it to give it a more finished look.

Monday, November 1, 2010

Christmas Gift Cards

I was asked to go to a Holiday Open House and bring both cash and carry items as well as a make-n-take project. I'm very excited to do this- it is something so different from teaching! I've been trying to set goals each week so that I'm ready for November 20th! Let's just say I'm already behind! But check out my first creation! I love it! If you are in the Olympia area on November 20th the Open House runs from 8-12 and then again from 4-8.


These cuties are being sold for $3. If anyone is interested in buying any I'm happy to sell them to you! I've got lots made :) You can leave me a comment on this post or email me at hmyers4457@live.com

Monday, October 25, 2010

Convention!

I had the oppportunity on Saturday to drive to Portland to attend my first Stampin Up! convention! What an experience! CEO and co-founder of the company, Shelli Gardner put on the convention. What an amazing woman. Sincere. Kind. Thoughtful. The day consisted of card swapping (I felt like it was my first day of school!) I ended up making 50 cards to swap with others; I came home with some great ideas, talks on the business end of things, some presentations by other demonstrators and my favorite...making projects with a new stamp we received upon arrival! The Days of Gratitude set is a new favorite of mine- you can find it on my website in the Mini Catalog. I loved working with it and am feeling inspired to create more with it. Check out what we made throughout the day!


Upon arriving back home on Saturday night, I was feeling excited so I re-did our shadow box using the new stamp box. Love it!

Are you feeling inspired yet?

Saturday, October 23, 2010

A Cute Christmas Project!

I'm in LoVe with this cute Christmas project! It is the Candy Countdown Calendar Kit in the Stampin Up! Holiday Mini Catalog. I'm so in love with this project that 8 of my friends and I are having a get together in November to put them together! I think this is such a cute way to celebrate the advent season! It will easily hold a small treat of some sort in it! If you don't have little one's in the house anymore it also could be used to hold holiday treats for a co-worker or neighbor and could also be used to hang a small gift on the Christmas tree. Did I mention what a great deal it is? For $19.95 you get 25 boxes, printed die cuts, ribbon, clothespins and rope to hang them with! Wow! Would you and your friends like to do this for a fun get together? Let's get it on the calendar! You can also order directly from my website. Click here!

The First Post!

So, I'm in a bit of shock. I've already got one blog up and running for my family and here I am thinking that I can keep two blogs updated! It's worth a shot! I'm so excited for this blog mainly because it's going to allow me to talk about something I really enjoy doing; creating cards, boxes, cute projects and scrapbook pages! I'm going to have to throw in the occasional talk about my husband and my kids because they are so much a part of me that it would feel weird not to talk about them!

Why the name T and M Cards you ask? Well, the T stands for my daughter Taylor and the M stands for my daughter Maddie. Not very creative I know, but two of my loves makes perfect sense for my blog title!


Taylor and Maddie